Physical Address
304 North Cardinal St.
Dorchester Center, MA 02124
Physical Address
304 North Cardinal St.
Dorchester Center, MA 02124

At some stage in the development of our software, it is necessary to add icons to our implementation. In the case of using Ionic, we can deploy it on mobile devices, so additionally, we need to create splash screens for them. Let’s start with the simplest thing, changing our favicon.
When generating our Ionic application, by default, we have an icon in the path /assets/icons/ that is the one we see in the tabs of the browser. We just need to replace it and define it in the index.html file. It can be in PNG, ICO, or SVG format.
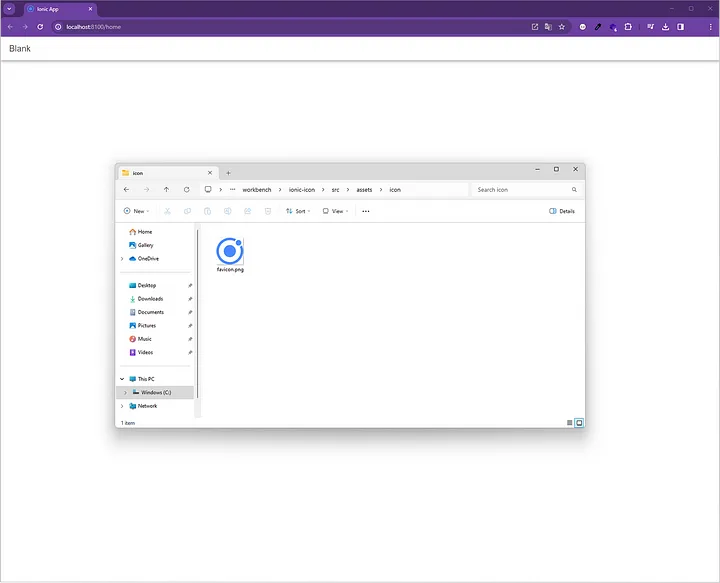
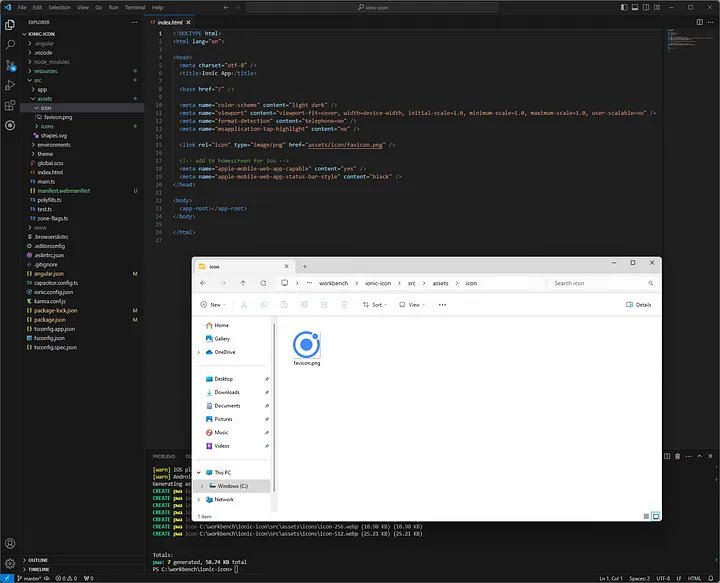
The next step would be to generate the icons used in our builds, whether for iOS, Android, or PWA. We install the ‘@capacitor/assets’ repository using the following command:
npm install @capacitor/assets --save-devWe wait for all dependencies to be installed, and now we need to create, in a photo editor (such as Photoshop), the images that will be used as icons and splash screens, respectively.
Some specific rules to adhere to when undertaking this process:
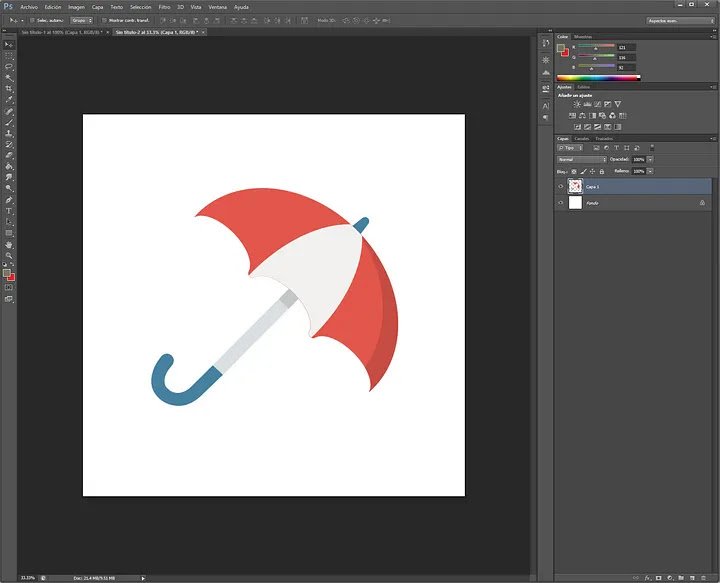
We create two new files in Photoshop with the given dimensions and arrange the image that will be used in our application.
We have to create a new directory at the root of our project with the name ‘resources.’ Inside, we should save our images, ready to be processed. The files must be named in a particular way. There are two ways to proceed.
With Easy Mode, the tool supports generating all the icon and splash assets you need for iOS, Android, and PWA from a single logo file along with an optional dark mode logo, and background colors. This is the easiest way to generate all your assets, but it trades customizability for convenience.
To use this mode, create a single logo.png or icon.png with an optional logo-dark.png in assets/ (the tool also supports using SVG files as source images, substitue .svg as needed):
assets/
├── logo.png
└── logo-dark.pngThis mode provides full control over the assets used to generate icons and splash screens, but requires more source files. To use this mode, provide custom icons and splash screen source images as shown below:
assets/
├── icon-only.png
├── icon-foreground.png
├── icon-background.png
├── splash.png
└── splash-dark.png
In the end, it would look like the following:
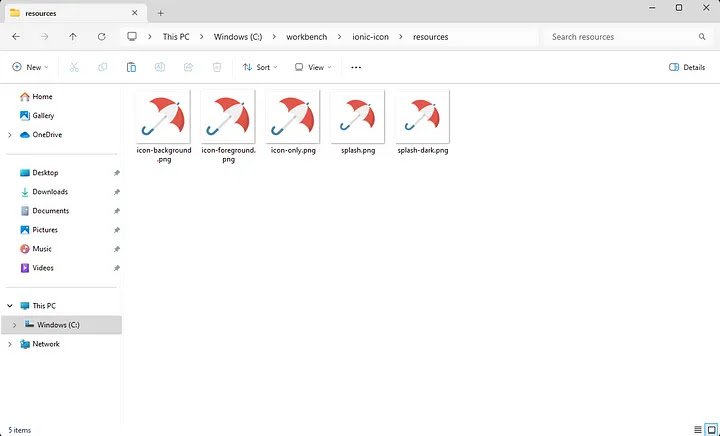
We are now ready to generate our icons. First, we need to compile our application. To do this, we use:
ionic buildIf you are planning to release your application to the Apple App and Google Play stores then you will need to ensure that the necessary platforms are added to your Ionic project.
ionic build
npm install @capacitor/ios
npx cap add ios
npm install @capacitor/android
npx cap add android
With the necessary platforms added to your project, and the design assets in place within the resources folder, you can now generate the required launch icons/splash screens with the following command:
npx capacitor-assets generateThis will then generate launch icons and splash screen files for iOS, Android and PWA platforms in the following locations within your Ionic project:
We can verify that the generation was successful by opening the manifest.webmanifest file located in the src folder.
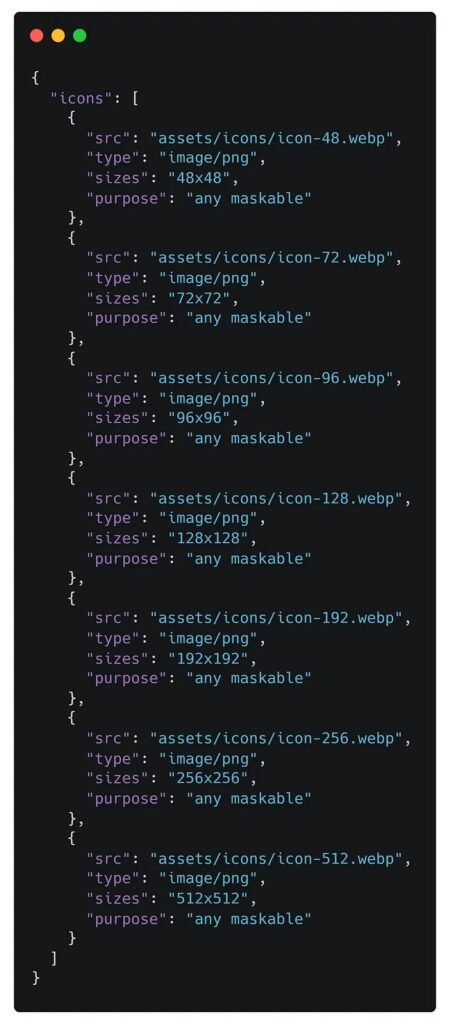
We can generate icons and splash screens for each specific platform. We should always compile before doing this using ‘ionic build.’
npx capacitor-assets generate --ios
npx capacitor-assets generate --android
npx capacitor-assets generate --pwa
This will then output the generated files, their names, paths and sizes to the command line screen — in the case of the — pwa flag — like so:
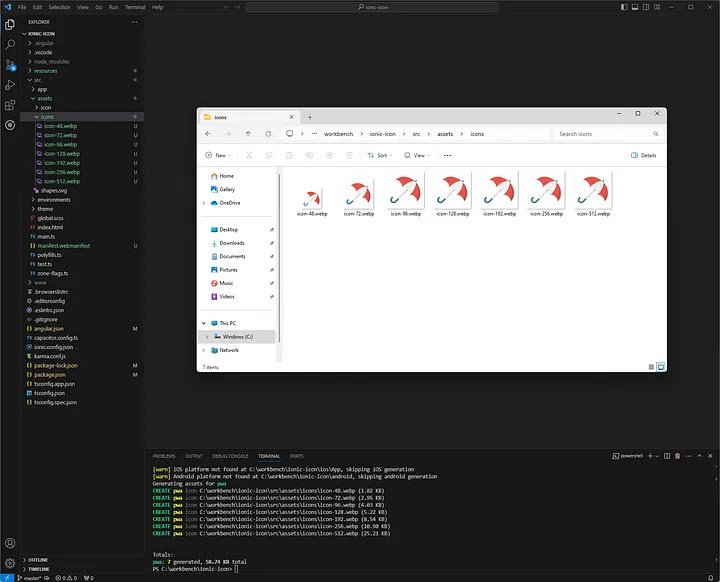
In this particular case, the icons were generated to be used in a PWA. You can observe the warning message in the Visual Studio Code console.
And that’s it. This command line utility is blazing fast and simple to use and you can read more about its usage in the official documentation page.