Physical Address
304 North Cardinal St.
Dorchester Center, MA 02124
Physical Address
304 North Cardinal St.
Dorchester Center, MA 02124
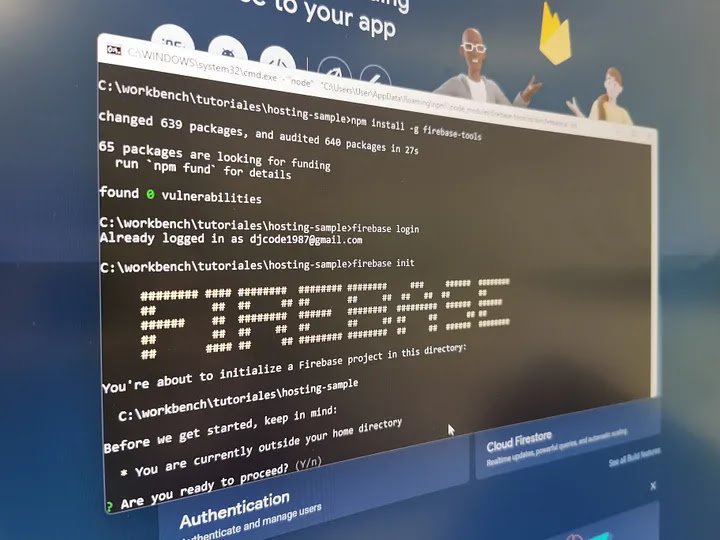
One of the things I liked most about Ionic was that it could be compiled for almost anything, in addition to being able to host it for free on Firebase. Today, we are going to learn how to host our application and turn it into a PWA.
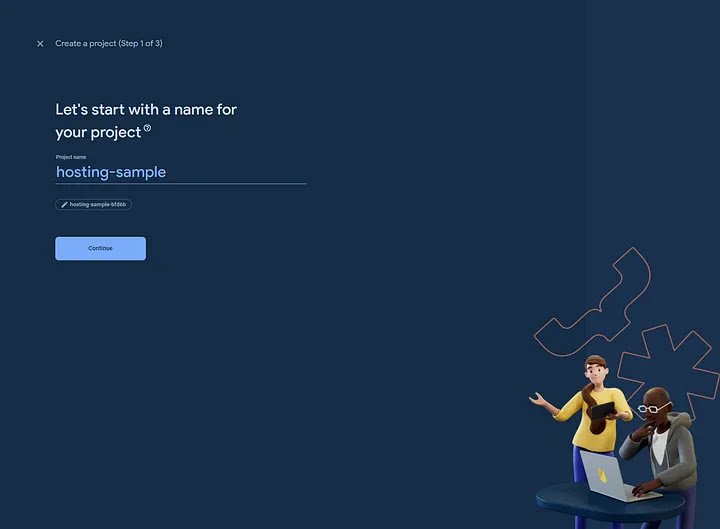
Let’s start by creating a new project in Firebase. This can also be done from the console, but in this case, we will see it from the Firebase website. Click on ‘Add project’ and start the wizard. For this, you must have an account on Firebase.
We begin with the project name, and we can specify a unique global ID. This ID will be part of the URL of our hosted project in the future.
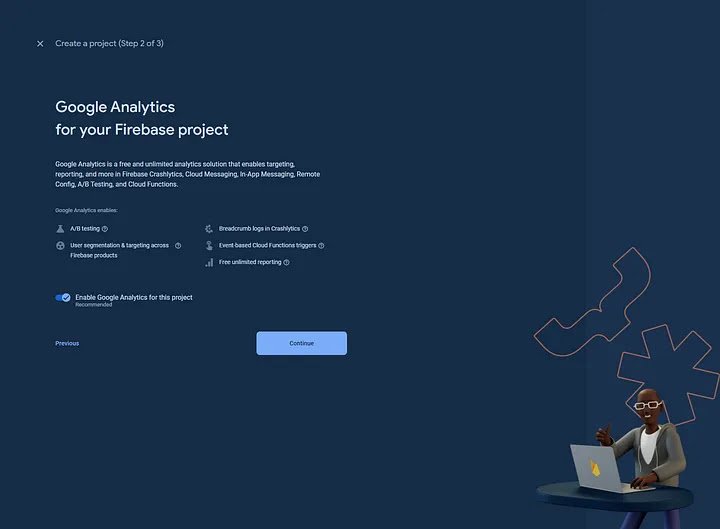
We continue, and Firebase will ask us if we want to add Google Analytics to the project. It is always advisable to do so.
If we choose to include it in our project, we need to assign it to our project.
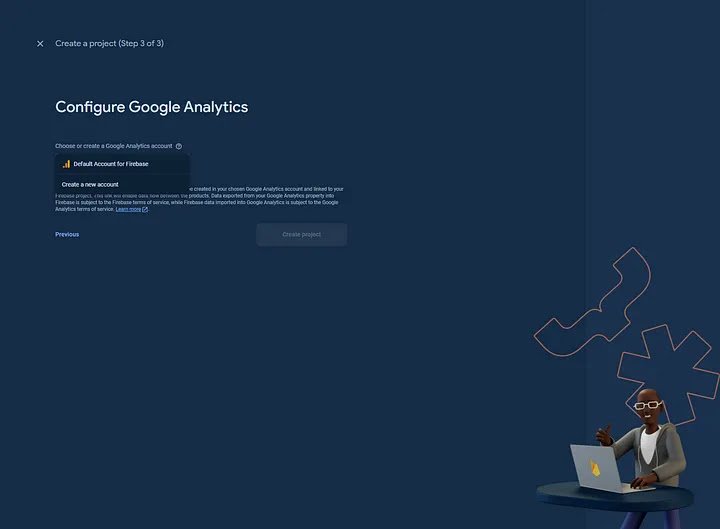
And that’s it. We finish the wizard, and Firebase will take care of configuring everything.

Now it’s time to generate our project. To do this, we open the console and write the following code to run the wizard.
ionic start firebase-sample blankThe wizard will prompt us with various configuration options.
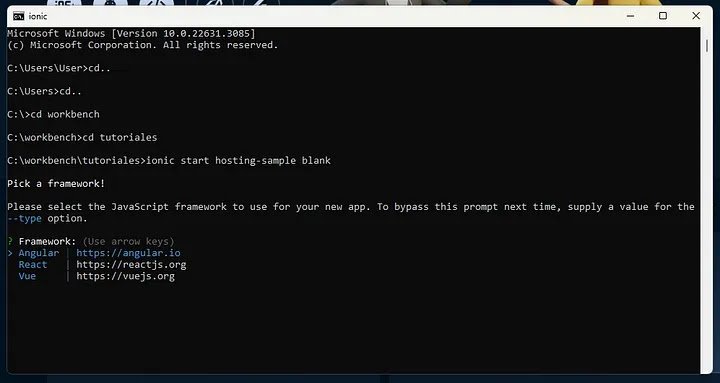
In this case, we will use Angular.
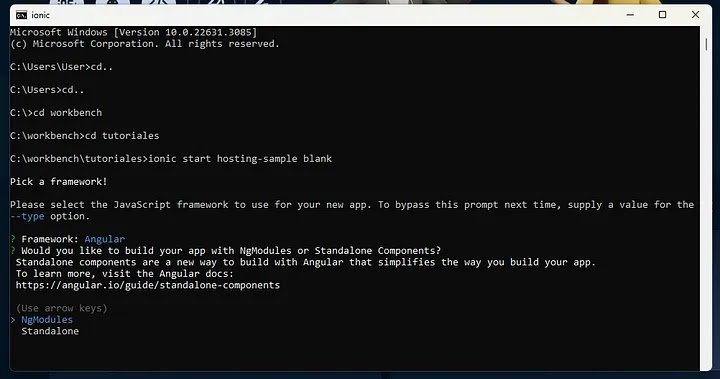
In this case, we will use NgModules. The wizard will start downloading all the necessary packages, and at the end, it will ask us if we want to create an Ionic account. Personally, I choose not to.
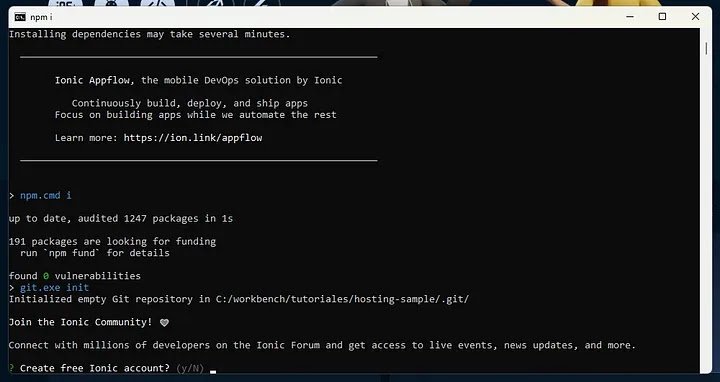
Great, now our project is generated and is a blank canvas to start developing. The next step is to host the project on Firebase. To do this, we install the necessary Firebase dependencies.
npm install -g firebase-toolsWe log in to Firebase from our project using our Firebase credentials. Typically, these are the same as our Gmail account credentials.
firebase loginIf it’s the first time, a new tab will open in the browser for entering the credentials. After successfully logging in, we initialize Firebase with the following command.
firebase init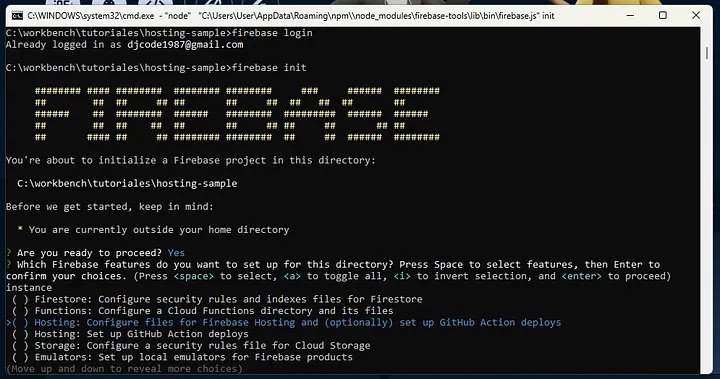
In our console, Firebase will ask us what we want to do. In this case, we choose hosting by using the space key and confirm with Enter. Firebase will then ask us if this is a new project or an existing one on its platform. Since we have already created it, we simply choose the existing project.
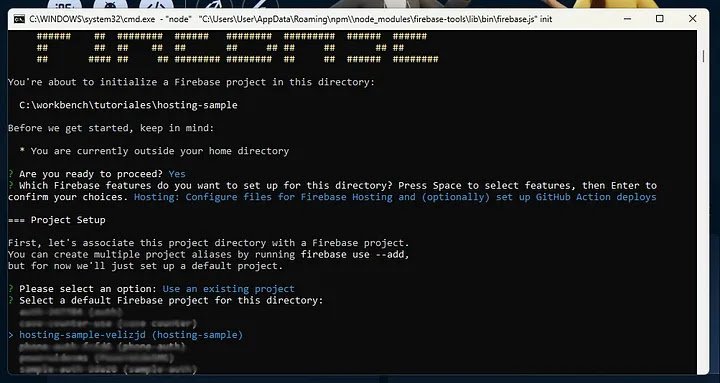
Now Firebase will ask us a few more things:
“What do you want to use as your public directory?” Enter “www”
“Configure as a single-page app (rewrite all urls to /index.html)?” Enter “yes”.
“Set up automatic builds and deploys with Github?” Enter “No”.
Alright, the project is now linked with Firebase, and the project is created. Now we need to modify the firebase.json file that has been generated in our project. Initially, the file looks like this.
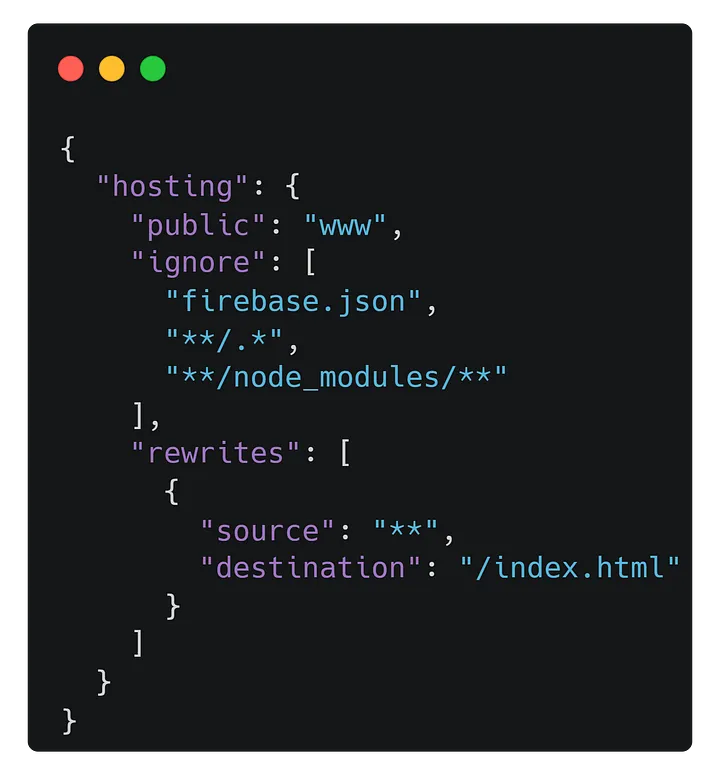
We need to modify the file and add a small snippet to it. This is how it will look once modified.
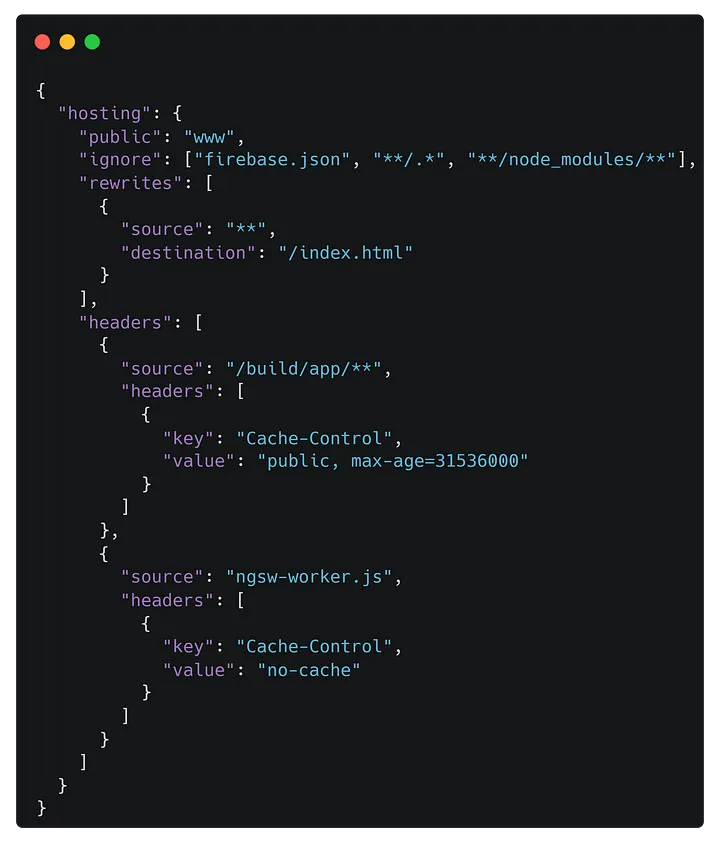
Now we are ready to compile our project and upload it to the cloud. In the console, we execute and write the following code:
ionic build --prodFirebase will ask us: Would you like to share pseudonymous usage data about this project with the Angular Team at Google under Google’s Privacy Policy at https://policies.google.com/privacy. For more details and how to change this setting, see https://angular.io/analytics. (y/N)
Personally, I choose no. Once our project is compiled, a new folder called www will be generated. Now we just need to deploy it on Firebase.
firebase deployThe console will display the process, and in the end, it will return the URL of our hosted project.
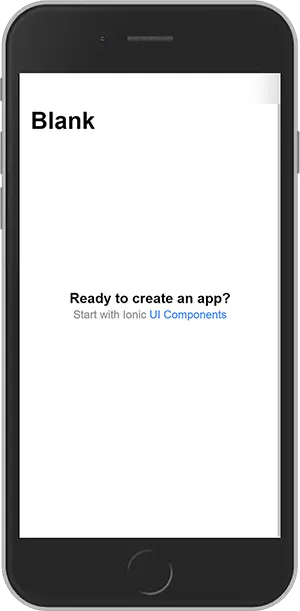
Every time we make a change, it is necessary to compile and deploy to Firebase. There you go, now we have our project visible from anywhere in the world and for free.